Dehancer vs. The Competition: Why It Wins for Film Emulation
If you’re on the fence about subscribing to Dehancer, this guide is designed to help you make a confident decision. We cover how Dehancer’s pipeline mirrors a real film workflow (camera → negative → print → finishing), what that means in practice, where it outperforms popular alternatives, and how to set up a reliable grading strategy that travels between DaVinci Resolve, Final Cut Pro, Premiere/After Effects, and Photoshop/Lightroom. Use code SLATD for 10% off on the annual plan.
Who Dehancer Is For
- Commercial and branded content teams that need consistent, repeatable results across agencies and post houses.
- Solo filmmakers and YouTubers who want the “film” look without maintaining complex node graphs.
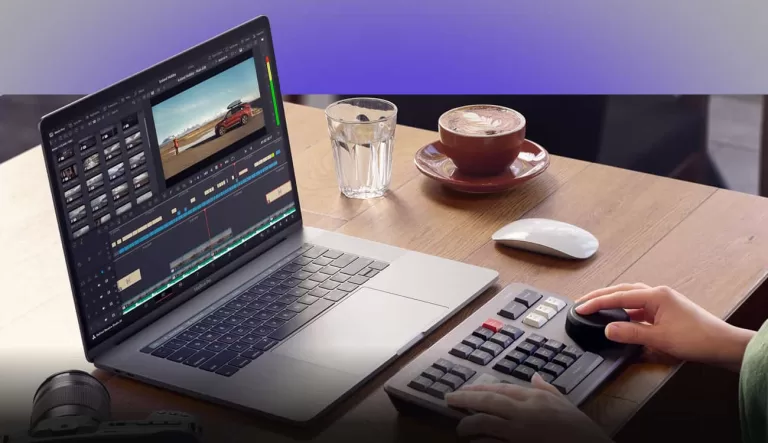
- Hybrid shooters delivering motion + stills who want a unified look across Resolve/FCP/Pr/AE and Photoshop/Lightroom.
- Colorists who already know how to build looks natively but want a faster way to package camera transforms, negative/print behavior, halation, bloom, and grain.
The Dehancer Pipeline Advantage
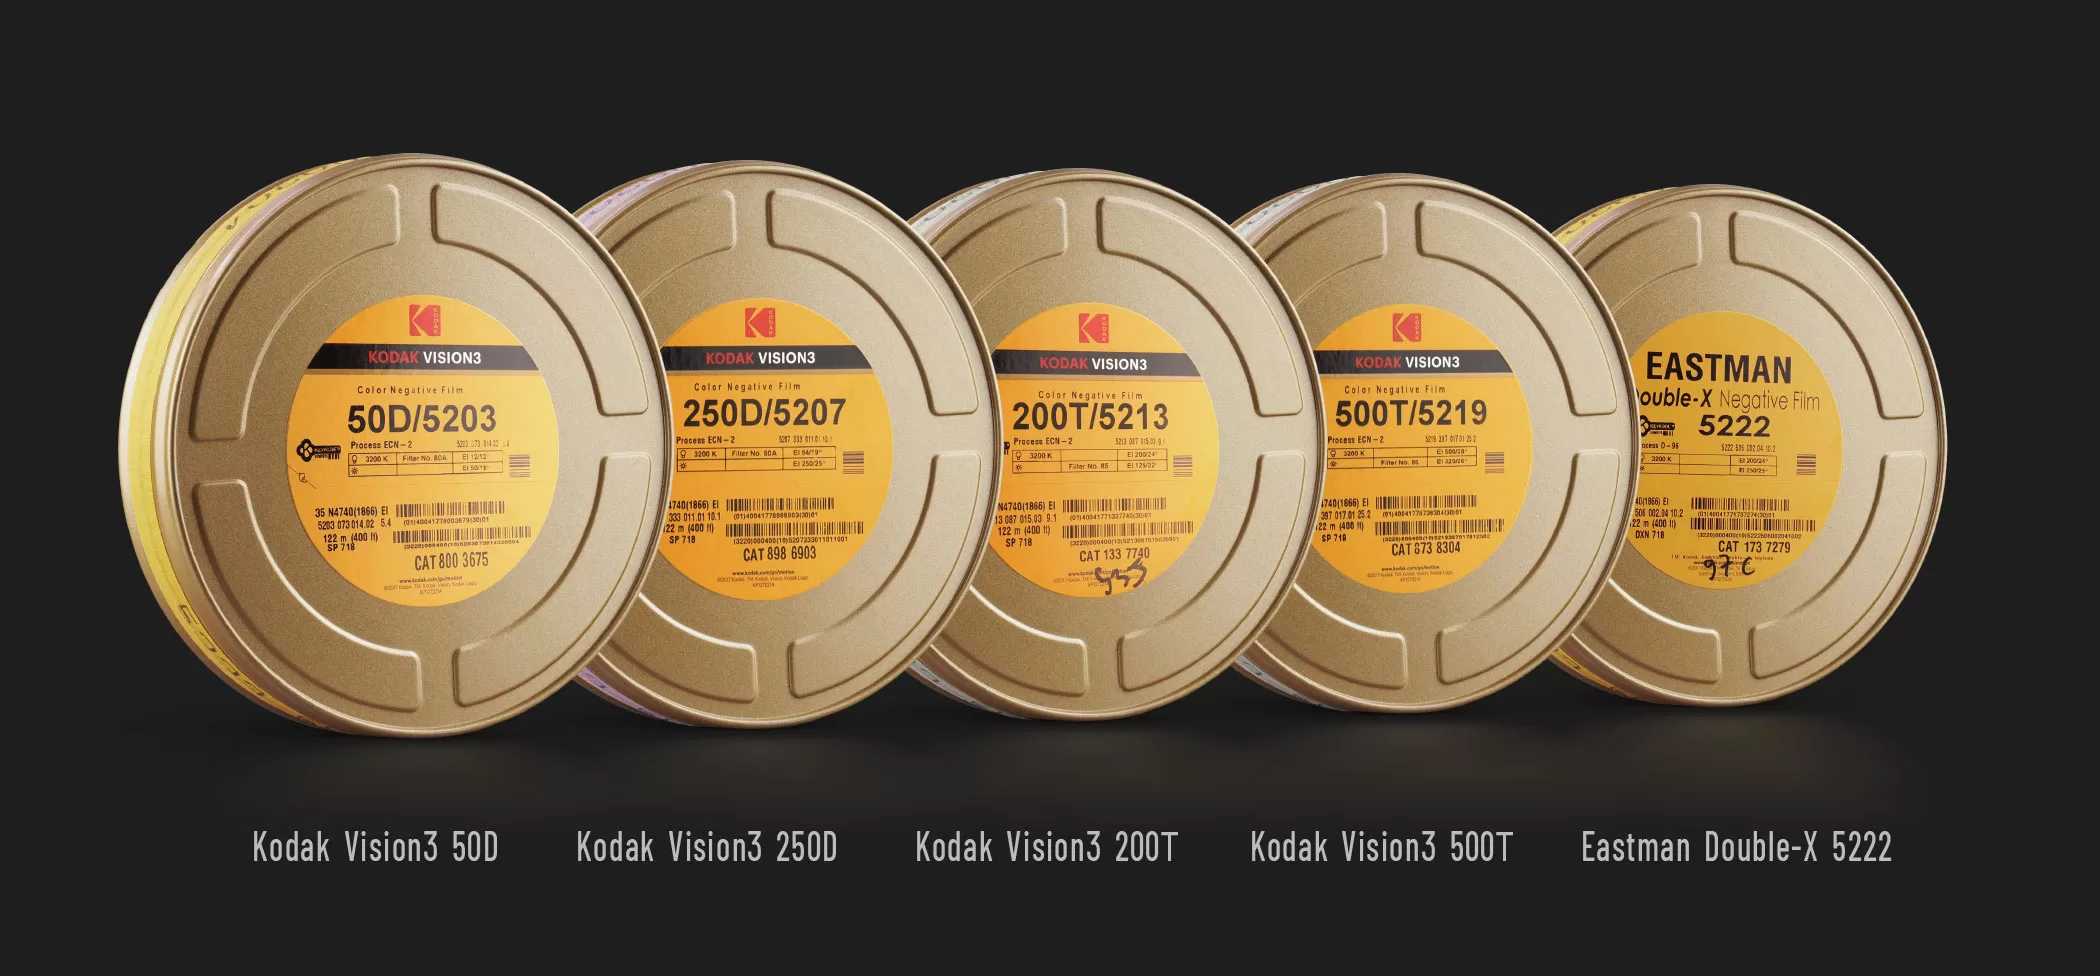
What makes Dehancer different is the way it models the entire photochemical chain—negative stock, print film, and the optical artifacts we associate with film projection and printing. Instead of scattering this across ten nodes and third‑party plugins, you operate inside one ecosystem that is:
- Structured: camera transform → negative (Film) → print (Print) → finishing (Halation, Bloom, Grain, Gate Weave).
- Tasteful by default: subtlety-first presets and physically-informed controls that are harder to “break.”
- Host-agnostic: OFX for Resolve, native plugins for FCP and Adobe, plus Ps/Lr for stills.
- Preset- and profile-friendly: you can save camera-specific setups and re-use them across jobs.
Real-world benefit: you get a cohesive, cinematic look with less tinkering—and the settings translate well between hosts, so multi-app teams stay aligned.
Dehancer vs. Popular Alternatives
Below is a quick comparison of what most creators evaluate. The point isn’t that you can’t build great looks elsewhere—you can. The point is speed + cohesion for film aesthetics.
| Capability | Dehancer | FilmConvert Nitrate | Native Resolve Node Trees | Misc. Single‑Purpose Plugins |
|---|---|---|---|---|
| End‑to‑end film chain (camera→neg→print→finishing) | Yes (one ecosystem) | Partial (stock + grain; print/finishing limited) | Possible, but manual and time‑intensive | No (you chain many tools) |
| Halation & Bloom modeling | Integrated, physically‑inspired | Basic to moderate | Possible with multiple nodes/plugins | Requires separate product(s) |
| Print film behavior (“glue” stage) | Dedicated Print module | Limited / not print‑centric | Manual curves/LUTs/FX; inconsistent | Rarely available |
| Shot matching & preset reuse | Strong (camera/preset workflows) | Good (camera packs) | Depends on user skill & discipline | Weak—plugins don’t “talk” to each other |
| Cross‑host parity (Resolve/FCP/Adobe/Ps/Lr) | Yes (motion + stills) | Motion‑first | Resolve‑only by definition | Fragmented |
| Speed to first great result | Fastest for film aesthetics | Fast, but less complete | Slow (powerful, but lots of setup) | Inconsistent (mix‑and‑match) |
| Total cost to replicate | Single subscription | License + potential add‑ons | Time cost (steep) | Multiple licenses/plugins |
Verdict: If your goal is convincing film aesthetics with minimal overhead, Dehancer consolidates the moving parts better than any alternative. You can still customize heavily—but you start from a coherent baseline.
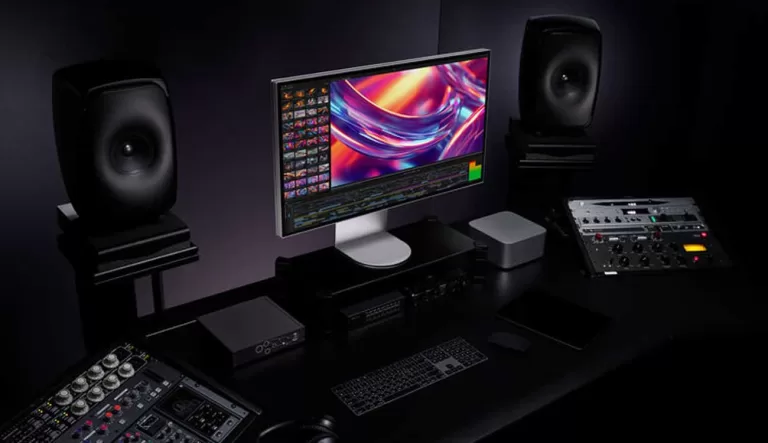
Pro Workflow Setup (Resolve example)
- Camera transform: Input either your camera profile inside Dehancer or a neutral Cineon-style transform. Keep the working space stable.
- Primary grade: WB, exposure, and ratios come first. Keep it simple.
- Dehancer core: Film (negative) → Print (tone/contrast/color density) → Finishing (Halation/Bloom/Grain/Gate Weave). Start with presets; trim by shot.
- Deliverable trims: Add a compact output node for platform‑specific deliverables (web, broadcast, HDR trims as needed).
- Preset reuse: Save per‑camera presets for next jobs; maintain a “Show LUT” only if clients request one.
Tip: Treat Halation/Bloom like optical seasoning. If you notice them, reduce. The effect should feel cinematic rather than read as an effect.
Tasteful Settings That Travel
- Halation: low density, modest radius; adjust threshold to avoid unintended highlights on skin.
- Bloom: small radius for product/beauty; larger only for atmospheric music videos.
- Grain: scale with resolution; 4K+ deliveries usually want less grain amount/size.
- Print: start subtle; this “glues” the look. Toggle it to hear what it adds.
- Gate Weave: only for stylized sequences; keep off for paid ads unless requested.
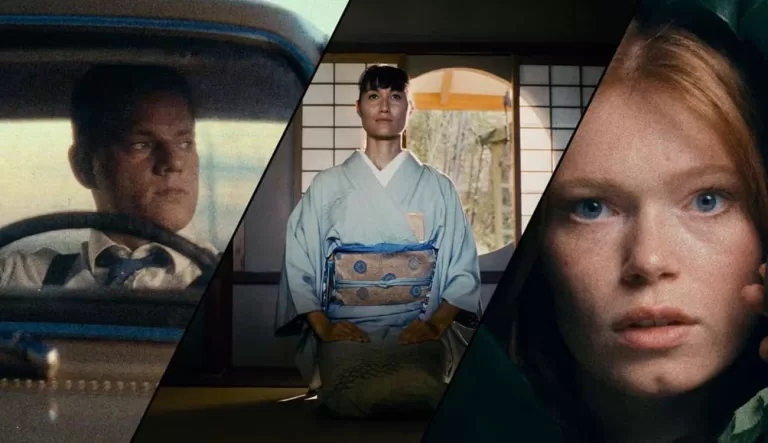
Case‑Study Snapshots
Beauty/Skincare Spot
Goal: modern clean with warmth. Use a fine‑grain stock, gentle Print, minimal Bloom (keeps speculars elegant), and micro‑Halation on chrome highlights.
Apparel Lookbook
Goal: texture and depth. Slightly stronger Print contrast, modest Grain, barely‑there Bloom for backlit fabric, keep Halation subtle.
Music Video
Goal: stylization. Bolder Print palette, pronounced Bloom for neon, selective Halation, consider Gate Weave on transitions only.
Common Objections (and Honest Answers)
- “Can’t I do this natively in Resolve?” Yes—if you’re comfortable building and maintaining complex node graphs. Dehancer minimizes that overhead, keeps teams aligned, and speeds up iteration.
- “Is this just a LUT pack?” No. It’s a modeled pipeline with controllable modules (negative, print, halation, bloom, grain, etc.). LUTs can’t dynamically adapt the way these modules do.
- “Will clients notice?” They’ll notice consistency, polish, and turnaround speed. That usually wins repeat business.
ROI: Why a Subscription Makes Sense
- Time saved: collapsing set‑up time across jobs pays for the license in days, not months.
- Team consistency: presets that travel across hosts keep freelancers and agencies visually aligned.
- Client perception: tasteful, reliable “film” aesthetics are a value‑add in pitches and treatments.
FAQ
Q: Which host should I start with?
A: If you’re full‑service or color‑heavy, Resolve. If you’re editor‑first, Premiere/AE or FCP. Stills? Ps/Lr. Dehancer supports all.
Q: Does it replace proper color management?
A: No—you still do primaries and exposure/ratio work. Dehancer takes over for the film look and finishing, so you aren’t reinventing it every job.
Q: Best way to share looks with collaborators?
A: Save presets by camera or show. Include short notes (stock/print/finishing) and a couple of still frames as references.
Ready to Decide?
Start from a cinematic baseline, keep settings tasteful, and iterate faster. If film aesthetics are part of your signature, Dehancer is the most coherent way to deliver them across apps.