Dehancer: Starter Guide, Pro Tips & 10% Off (Code: SLATD)
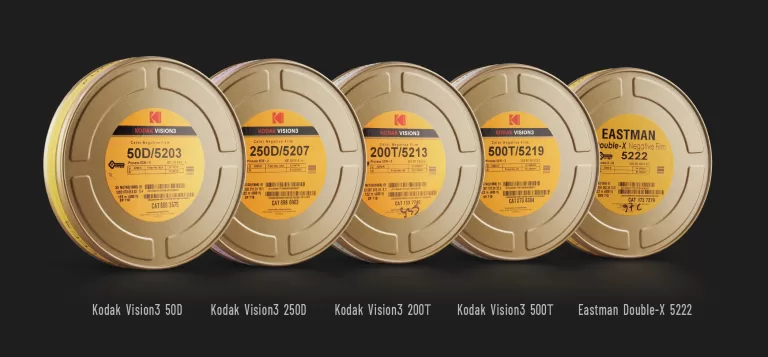
Dehancer is a film-emulation toolkit for Resolve, Final Cut, Premiere/After Effects, and Photoshop/Lightroom, bundling camera transforms, film stocks, print films, halation, bloom, grain, and gate weave into one cohesive workflow. This guide rounds up trusted starter videos, real-world tips from working editors/colorists, and quick setup advice so you can get great “film” results fast. Use code SLATD at checkout to save 10%.
Why Dehancer?
- All-in-one film chain: camera transform → film stock → print film → finishing (halation, bloom, grain, gate weave) without juggling a dozen nodes.
- Consistent, repeatable looks: save presets by camera/stock; jump between Rec.709 finishing or print-film outputs with fewer surprises.
- Cross-host support: Resolve (OFX), Final Cut Pro, Premiere/After Effects, plus Photoshop/Lightroom stills for unified looks across deliverables.
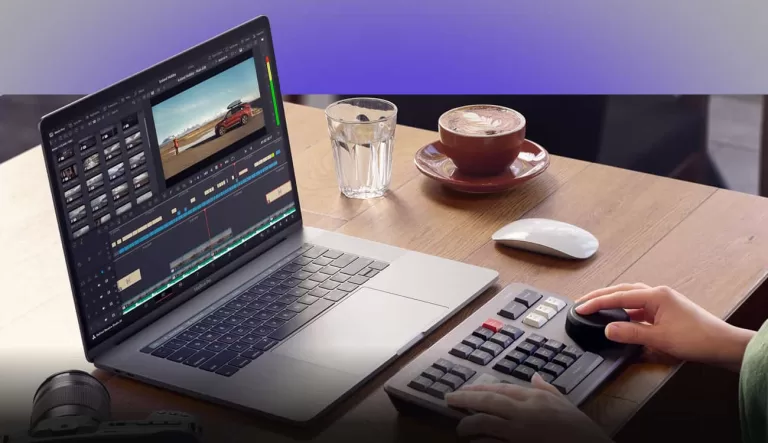
Quick Start (Resolve-centric, but applies broadly)
- Transform first: Convert camera log to a neutral working space (Cineon Film Log or camera → film input inside Dehancer), then apply your chosen Film and Print modules.
- Grade before cosmetics: Do white balance, exposure and ratios in primary nodes; then use Dehancer for film stock/print, and finish with halation/bloom/grain.
- Halation & Bloom sparingly: Keep density low and radius small; treat them like seasoning, not the meal.
- Grain is resolution-aware: Use appropriate grain size/amount per resolution and delivery; less for 4K+ masters.
- Match shots first, stylize second: Build a neutral match pass, then apply a look preset across the timeline and trim per shot.
Starter Videos (Highly Recommended)
Tips from the Community
- Keep it modular: Many users run three primaries (WB/curves/exposure) before a single Dehancer node that handles stock/print + finishing. Simple, fast, consistent.
- Cineon vs. direct S-Log3: If you’re unsure, try Dehancer’s Cineon Film Log workflow for a predictable baseline; direct S-Log3 → Dehancer also works if you prefer fewer transforms.
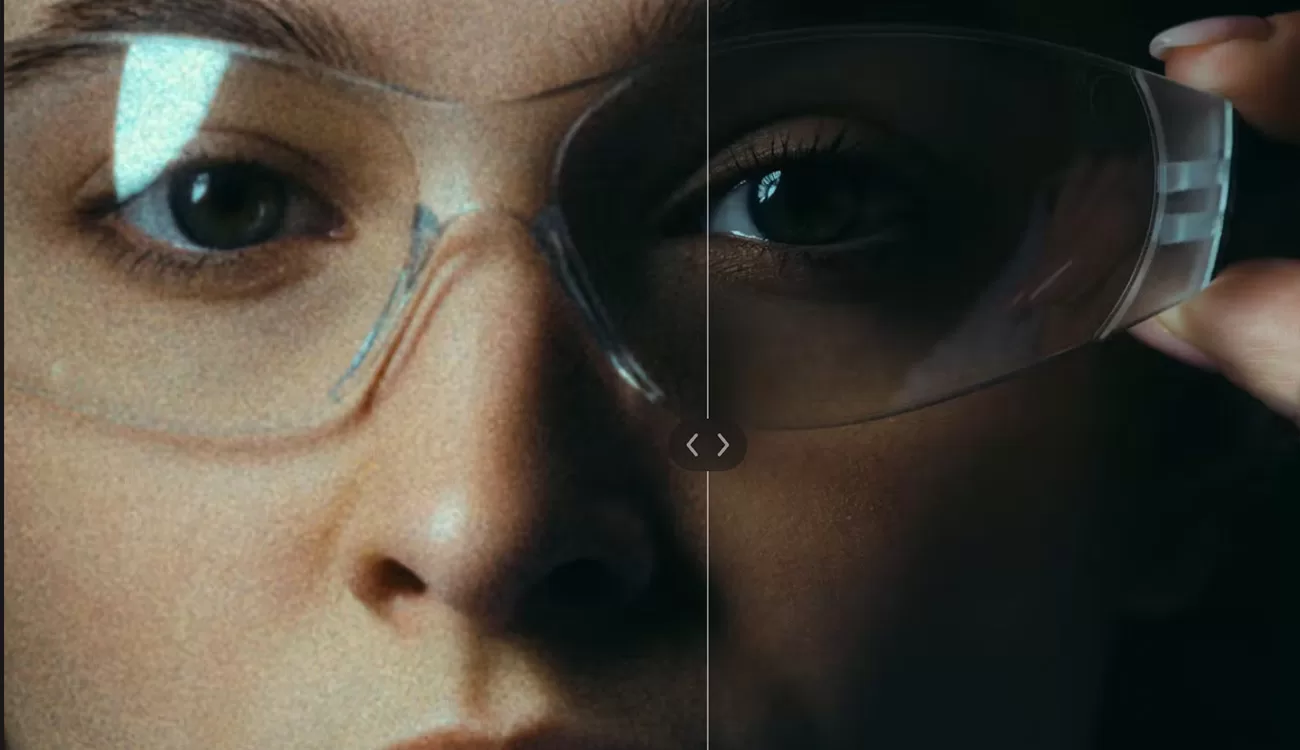
- Don’t skip print film: The print module often “glues” the look together—start subtle and toggle it on/off to feel what it’s contributing.
- Reality check: You can build similar results natively in Resolve, but Dehancer centralizes the steps and adds convincing halation/bloom/print behavior that’s tough to replicate 1:1 quickly.
What Editors & Colorists Are Saying
- “I like that it’s all in one plugin—camera transform, film stock, halation, bloom—so I can stay organized.”
- “Sponsored videos aside, it saves time versus building a complex node tree every job. Just don’t overdo the effects.”
- “Study actual print behavior. The print film stage is where Dehancer really sells the look.”
Dehancer Learn & Setup
Bookmark the official Dehancer Learn hub for installation guides, workflow diagrams, and tool explanations across all hosts.
Price & Where to Get It
Dehancer offers subscriptions for Photo-only, Photo & Video, and Studio tiers. Head to the plan grid below and apply our code at checkout.
Discount code supplied by Slatd: enter SLATD at checkout for 10% off.
Reasons to Try Dehancer
- You want a cohesive film pipeline (stock → print → finishing) in one tool.
- You deliver across apps (Resolve, FCP, Premiere/AE, Ps/Lr) and need consistent looks.
- You value speed: strong results without lengthy node graphs.
Join the Conversation
Have a Dehancer preset you love or a print combo that sings? Drop your settings and a frame grab in the comments—tell us camera, stock, print, and finishing values so others can learn.